Introduction
Updating your kitchen or bathroom cabinets is one of the most effective ways to give your home a fresh, modern look without the cost of a full remodel. While countless DIY guides promise flawless results, the reality is that painting cabinets is far more complex than it seems. From proper surface prep to choosing the right primer and ensuring a smooth, durable finish, small mistakes can quickly turn into costly frustrations.
That’s where our professional cabinet painting services come in. We provide homeowners with high-quality results that last, saving you the time, stress, and money that often come with DIY attempts.
Why DIY Cabinet Painting Falls Short
Many homeowners start cabinet painting projects with enthusiasm, only to find themselves stuck with:
- Peeling or chipping paint within weeks due to poor surface prep.
- Uneven brush strokes or roller marks from using the wrong tools.
- Stains are bleeding through because the primer was skipped or applied incorrectly.
- Time-consuming clean-up that eats away at weekends.
Cabinet painting is more than just rolling on paint; it requires expertise, precision, and professional-grade products to achieve a factory-like finish.
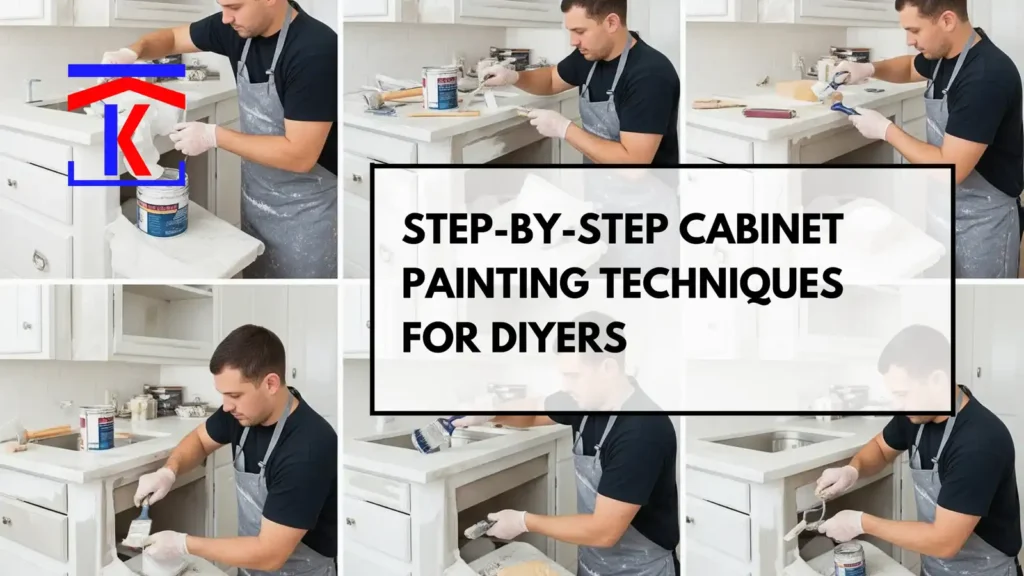
Our Professional Cabinet Painting Process
When you hire us, you’re not just getting a paint job; you’re getting a transformation. Our process ensures durability, beauty, and long-lasting performance:
1. Thorough Preparation
We carefully remove cabinet doors, drawers, and hardware, labeling and storing everything for seamless reinstallation. Unlike DIY projects that often skip steps, we deep-clean every surface to remove grease, oils, and dust for maximum paint adhesion.
2. Professional Sanding & Priming
Our team sands your cabinets with the right grit levels to create a smooth, paint-ready surface without damaging wood or laminate. We then apply premium bonding primer that blocks stains and guarantees long-lasting results.
3. Precision Painting Techniques
Using specialized sprayers and professional brushes, we apply multiple thin coats of high-quality cabinet paint for a flawless, streak-free finish. Whether you prefer satin, semi-gloss, or a trendy matte look, we deliver showroom-level results.
4. Curing & Finishing Touches
Cabinets are allowed to fully cure in a controlled environment, ensuring maximum durability. Finally, we reinstall all hardware or upgrade it with new handles and hinges if you’d like, so your kitchen or bathroom looks brand new.
5. Clean Thoroughly
Kitchen cabinets often have grease and dust buildup.
- Use a degreaser or TSP cleaner to remove oils and grime
- Rinse with clean water and let dry completely
Skipping this step can lead to poor paint adhesion.

6: Sand for Smoothness & Adhesion
Lightly sand all surfaces to remove old finish, shine, and smooth imperfections.
- Use 120–150 grit sandpaper for scuffing
- Finish with finer 220 grit for ultra-smooth surfaces
- Wipe away dust with a tack cloth
Note: If cabinets are laminate, sand gently to avoid damaging the thin layer.
7: Prime for Durability
Primer blocks stains, covers old colors, and helps paint stick.
- Apply one coat of bonding primer with a foam roller
- Use an angled brush for grooves, corners, and detail areas
- Let dry fully (check product instructions)
Primer is especially important if you’re painting light over dark cabinets.
8: Sand Lightly After Priming
For a smooth professional finish:
- Lightly sand the primed surface with 220-grit sandpaper
- Wipe off dust with a tack cloth
This step removes raised wood grain and tiny bumps.
9: Apply the Paint (Multiple Thin Coats)
Use a high-quality brush for edges and grooves
Use a foam roller for flat panels and sides
- Apply thin, even coats rather than one heavy coat
- Let each coat dry completely before adding another (usually 2–3 coats)
- Lightly sand between coats if the surface feels rough
10: Let the Paint Cure Fully
Even if the paint feels dry to the touch, curing takes longer.
- Allow doors and drawers to cure in a dust-free area for at least 24–48 hours
- Avoid heavy use or cleaning for about a week to ensure durability
11: Reattach Hardware & Doors
- Remove painter’s tape labels
- Reinstall handles, knobs, and hinges
- Hang doors and replace drawers
Tip: Consider updating hardware for a fresh look that complements your new paint color.
Why Hire Professionals Instead of DIY?
Stress-Free Process: We handle everything, from prep to clean-up, so you can enjoy your new space worry-free.
Time Savings: What takes homeowners weeks, we complete in just a few days.
Durability: Our finishes last years, not months, standing up to daily wear and tear.
Flawless Results: No drips, streaks, or peeling paint, just a smooth, professional finish.
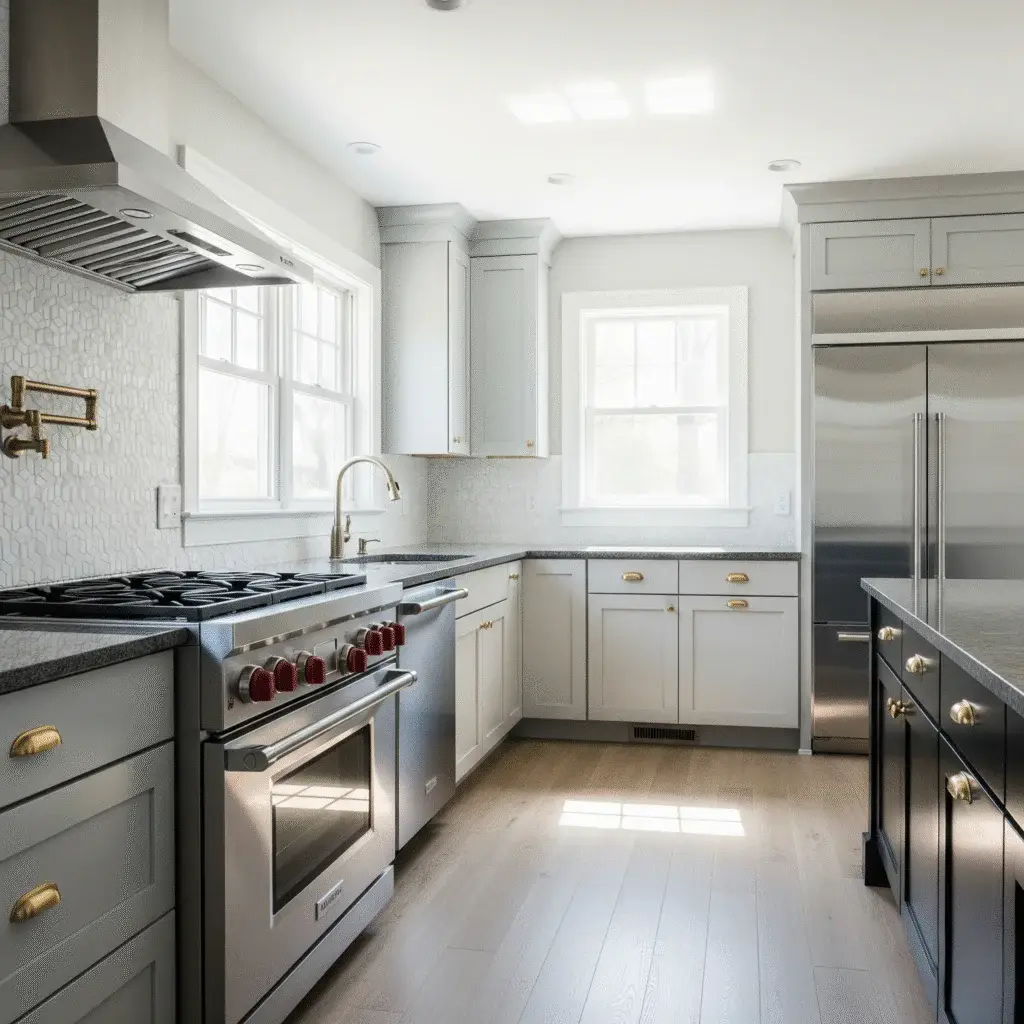
Popular Cabinet Colors & Finishes for 2025
When you work with us, we’ll help you choose colors and finishes that fit your style and increase your home’s appeal:
- Soft Sage Green – calming and modern.
- Warm Off-Whites – timeless and versatile.
- Charcoal Navy – bold and elegant.
- Muted Terracotta – earthy and welcoming.
- Greige (Gray-Beige) – a perfect neutral for any space.
Whether you prefer a soft matte look or a durable semi-gloss, we’ll guide you to the right finish for your lifestyle.
Upgrade Beyond Paint
Want more than just freshly painted cabinets? We also offer:
- Soft-close hinges & drawer slides
- Modern hardware installation
- Custom finishes for a designer touch
These details elevate your kitchen or bathroom and make your cabinets look like they came straight from a showroom.
Conclusion
While painting cabinets may seem like a quick DIY project, achieving a flawless, long-lasting finish takes professional skill, tools, and experience. At Kurb to Kitchen, we specialize in cabinet painting services that save you time, eliminate DIY headaches, and deliver stunning results built to last.
Don’t risk streaks, chips, or wasted weekends; let us give your cabinets the professional transformation they deserve.
Call to Action
Contact us today to schedule a consultation and see how we can refresh your space with a professional cabinet painting service.