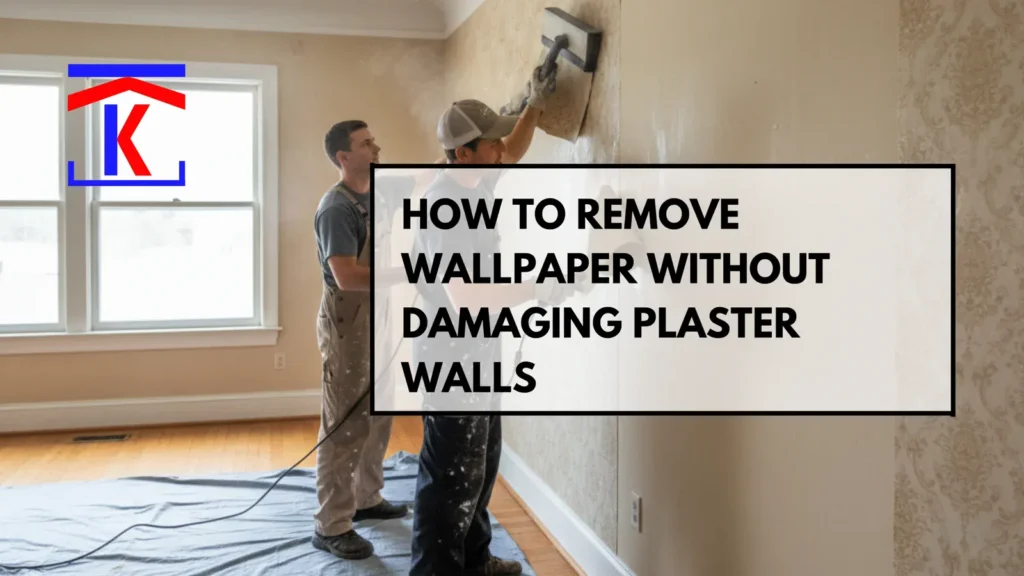
Wallpaper can give any Coweta home character, but when it’s time for an update, removing old wallpaper, especially from delicate plaster walls, must be handled with extreme care. Plaster is common in many older Georgia homes, and while it’s durable, it can chip, crack, or crumble if wallpaper removal is rushed or done improperly.
If you’re planning to refresh your interior with a clean, modern look or prep the walls for new paint, understanding the safest methods makes all the difference. Here’s a detailed, service-focused guide on how professionals remove wallpaper without causing damage to plaster walls, and what homeowners in Coweta can expect during the process.
Why Plaster Walls Require Special Care
Many Coweta homes, especially those built before the 1980s, feature plaster walls instead of drywall. Plaster offers a beautiful, smooth surface, but:
- It is more brittle than drywall
- It can absorb moisture easily
- It chips or cracks if scraped with too much force
- Older plaster can detach from its lath backing if pulled incorrectly
This is why wallpaper removal on plaster should be slow, controlled, and preferably done by experienced specialists.
Step 1: Initial Inspection and Wallpaper Assessment
Before any removal begins, professionals assess:
The wallpaper type
- Peel-and-stick
- Traditional adhesive-backed wallpaper
- Vinyl-coated wallpaper
- Multiple layers of older wallpaper
The condition of the plaster
They look for cracks, soft spots, existing damage, or areas where the plaster is pulling away from the wall structure.
This evaluation helps determine the safest removal techniques, so the plaster stays intact.
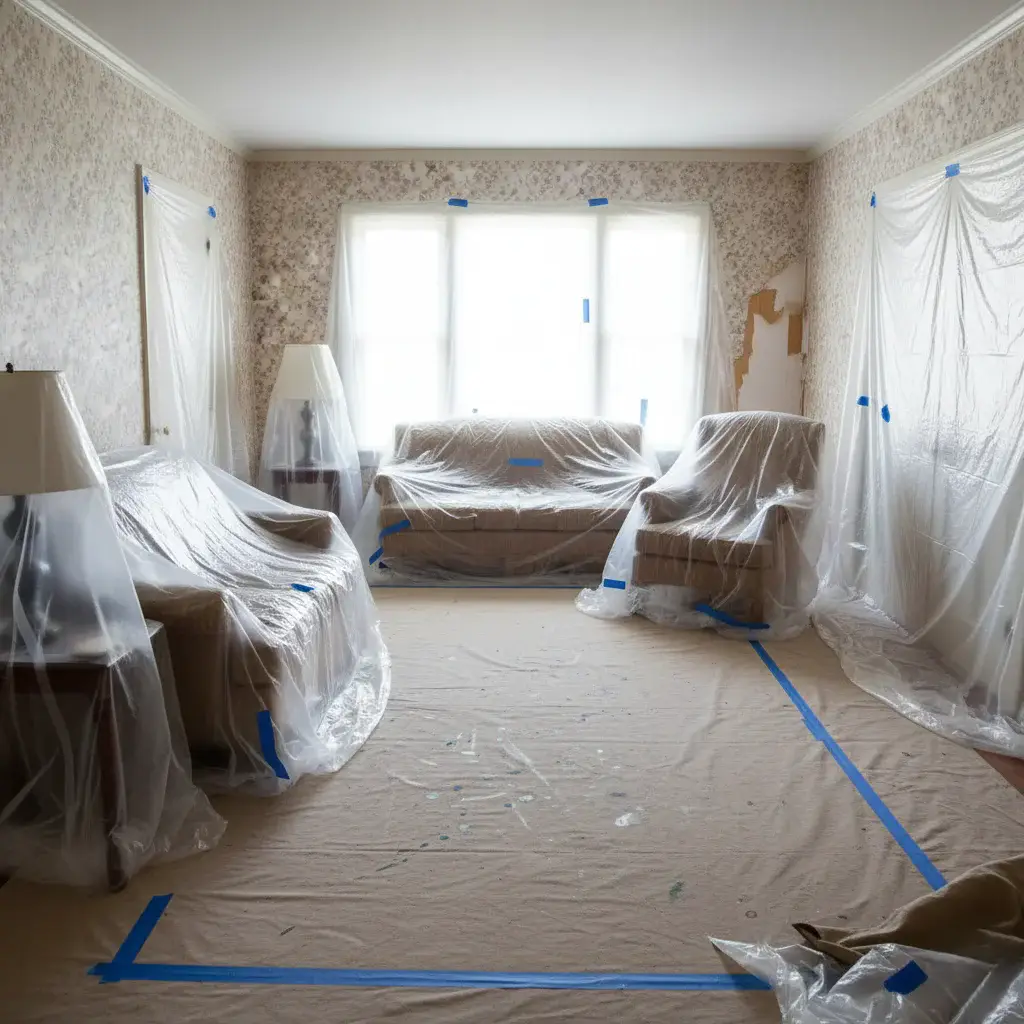
Step 2: Protecting Floors, Trim, and Furniture
Because wallpaper removal can get messy, the team covers and protects your home by:
- Using drop cloths and plastic sheets
- Taping off trim, baseboards, and switch plates
- Moving or covering nearby furniture
This ensures dust, moisture, and old adhesive don’t create a cleanup problem later.
Step 3: Scoring the Wallpaper, Only When Needed
Scoring helps loosen stubborn wallpaper, but on plaster walls, professionals avoid deep-scoring tools that might scratch the surface beneath.
They use light scoring devices or skip scoring completely if the wallpaper is thin or already peeling.
This step is done with precision so the plaster layer is never disturbed.
Step 4: Applying a Gentle Wallpaper-Softening Solution
Instead of harsh chemicals that could damage plaster or create excessive moisture, specialists typically use:
- Low-odor warm water
- Mild wallpaper removal solutions
- Steamers on a controlled setting
The goal is to soften the adhesive without oversaturating the plaster, preventing bubbling or deterioration.
Step 5: Controlled, Slow Peeling
Once the adhesive loosens, the wallpaper is removed gently and strategically.
Professionals avoid:
- Ripping wallpaper off in large sheets
- Using sharp metal scrapers aggressively
- Forcing peeling sections that resist
Instead, they:
- Start from seams or loose corners
- Pull wallpaper slowly at a shallow angle
- Support the wall with their other hand if needed
This careful method prevents gouges and surface tearing.
Step 6: Soft Scraping and Adhesive Removal
After the wallpaper is off, leftover glue must be removed, but plaster reacts poorly to heavy scraping.
Experts use:
- Flexible plastic scrapers
- Soft cloths
- Mild soap-and-water mixtures
They keep moisture levels to a minimum to preserve the wall’s structure.
Step 7: Drying the Walls Safely
Plaster needs a proper drying time. Professionals often use:
- Fans
- Dehumidifiers
- Good air circulation
Quick or uneven drying could cause cracks, so the process is done gradually.
Step 8: Repairing Any Minor Plaster Imperfections
Even with careful removal, older walls sometimes reveal flaws hidden beneath wallpaper.
Pro painters and repair specialists inspect the surface for:
- Hairline cracks
- Small chips
- Uneven patches
- Old nail holes
They apply professional plaster patching compounds and smoothing techniques so the wall is ready for primer or new paint.
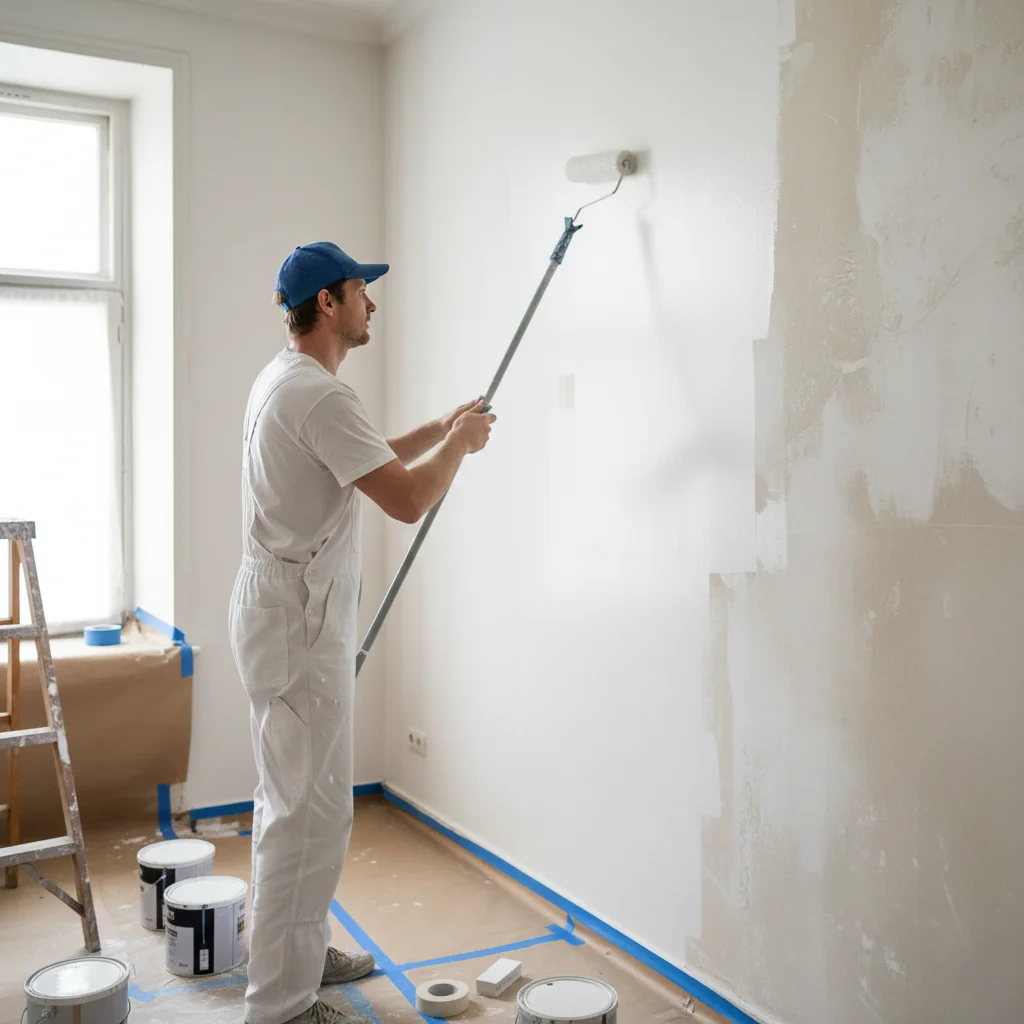
Step 9: Priming for the Final Finish
Once repairs are complete and the wall is dry, a bonding primer is applied. This:
- Seals the plaster
- Prevents stains from bleeding through
- Creates an even surface for new paint or wallpaper
- Adds durability to the final finish
Coweta homeowners often choose premium low-VOC primers and paints to maintain indoor air quality.
Why Hiring Professionals Matters for Coweta Homes
Removing wallpaper from plaster walls is not a fast or simple task. Professional services bring:
Expertise with historic and older homes
Coweta has many homes with wall systems that require careful, experienced handling.
Tools that prevent plaster damage
Professionals use controlled steamers, plastic scrapers, and moisture-safe solutions.
Repair and painting services after removal
You get a smooth, finished surface ready for paint or new décor.
Time savings and stress reduction
The project is done the first time correctly, without the risk of costly plaster repairs.
Final Thoughts
Wallpaper removal in a Coweta home is best approached with patience, precision, and the right tools. When done properly, your plaster walls can be preserved beautifully, ready for a modern refresh, a new color palette, or updated décor.
Call to Action
Whether you’re renovating a single room or updating your entire interior, professional wallpaper removal ensures safe, clean, and long-lasting results. Contact us today!